Want to control when people can sign up for your event? With Start and Stop Dates, available starting at the Gold tier subscription, you can decide exactly when registration opens and closes. Whether you want to prevent early birds from signing up too soon or cut off sign-ups at a specific time, this feature keeps everything running smoothly!
- Log in to your SignUpGenius account.
- Click the Created tab, click the ellipsis icon (displayed as •••) next to the sign up and select Edit.
- Go to the Slots tab.
- Click the pencil icon next to an existing slot or select Add Slots to create a new one.
- Scroll down to the Start/Stop Dates & Times section.
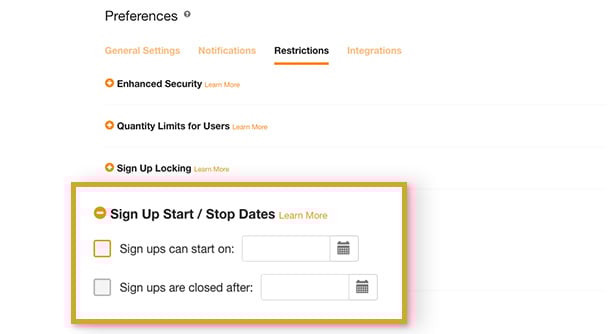
- Set your Start Date (when sign-ups open) and Stop Date (when sign-ups close).
- Before the Start Date: Participants can see the slot but won’t be able to sign up yet.
- After the Stop Date: The sign-up button disappears, and no more registrations can be made.
- Click Save to apply changes, then scroll to the bottom of the page and click Save again to finalize.
Need More Control? Try Locking Slots
For Silver-level subscribers and above, we offer an extra layer of control with locked sign ups. This feature lets you set a specific time before the event when sign-ups automatically lock.
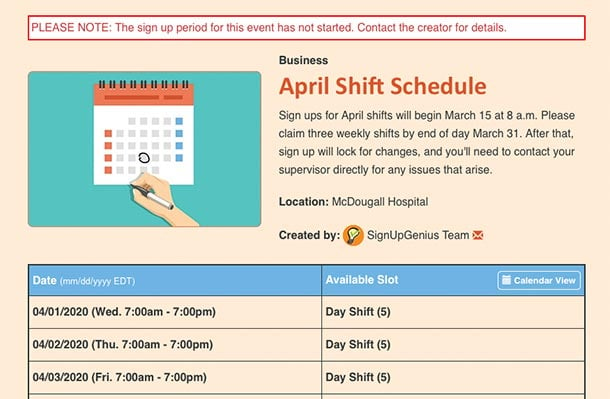
- Example: If you set a lock time of one day prior, each slot will close exactly 24 hours before the scheduled date and time.
- This is great for volunteer events, meal sign-ups, or any situation where you need to finalize headcounts in advance.
For Gold, Platinum, and Enterprise users, we also offer advanced Start and Stop Dates—perfect for setting custom registration windows.
Want to explore all the premium features? Check out our pricing page to find the best plan for you!
If you are not at the point where you're ready to make the transition to a subscription plan, you can manually lock your sign up at any time using our Access Code feature.
From the Created tab, click the orange text reading Edit sign up next to the sign up you are working with.
- Go to the Settings tab.
- Locate Preferences.
- Select the Restrictions option.
- Click the plus sign to the left of Enhanced Security.
- Check the box to "Require my users to enter an access code to view my sign up."
- Enter the access code you wish to use.
- Select Update to save this change.
The only people who can access the sign up are those who have the access code.